When Iain and I first started having the conversations that would lead us to Colours & Numbers, the discussions would arrive breathlessly at artistic and design ideas that could be realised through programming. A whole new aesthetic landscape became visible when Iain’s design skills spoke with my development background. We found this tremendously exciting. So exciting that we decided to smother it in business and tax file numbers and see if we could take our day-long design slams into the full-time pursuit of these creative possibilities.
When Method Studios approached us about The Nightingale and The Rose, we saw a project that was native to the landscape we’d imagined. Beautiful, wildly creative and technically daunting.
Del Kathryn Barton, a two-time Archibald Prize winner, had done a series of twelve gorgeous paintings inspired by Oscar Wilde’s tragic short story. Barton now wanted to bring her works to the big screen in an animated short film.
“Thanks so much for making the process so easy and the results so spectacular. Everyone is very impressed by your contribution.” – Nicky Marshall, Producer, Method Studios.
Update: The Nightingale and the Rose wins Best Australian Short Film at the 2015 Melbourne International Film Festival!
Jury statement:
“One simple word, an exclamation shared by all the judges, conveys the visual and storytelling wonder of this film: Wow! This beautiful animated short is a collaboration between filmmaker, visual artist, musician and an outstanding voice cast, and everyone involved is at the very top of their game. The visuals are sensuous and often breathtaking, and the score and sound are exemplary. This reinterpretation of Wilde’s dark fairytale has its own visionary potency but is also faithful to the melancholy and heart-breaking power of the original tale. Wow, just wow!”
July 2014
Client: Method Studios
Derivation
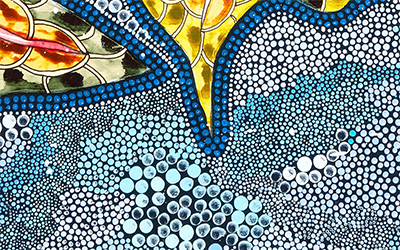
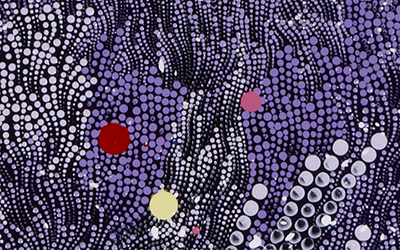
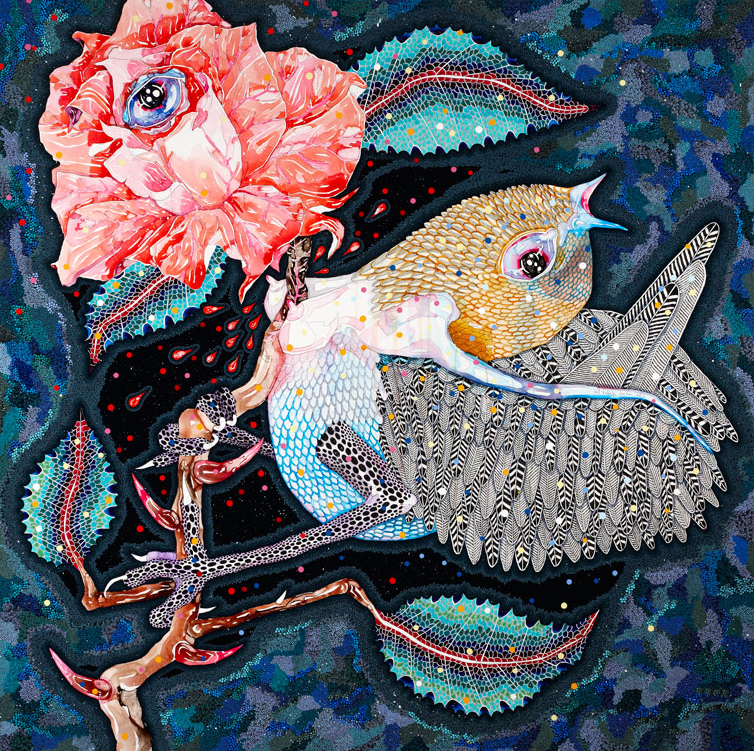
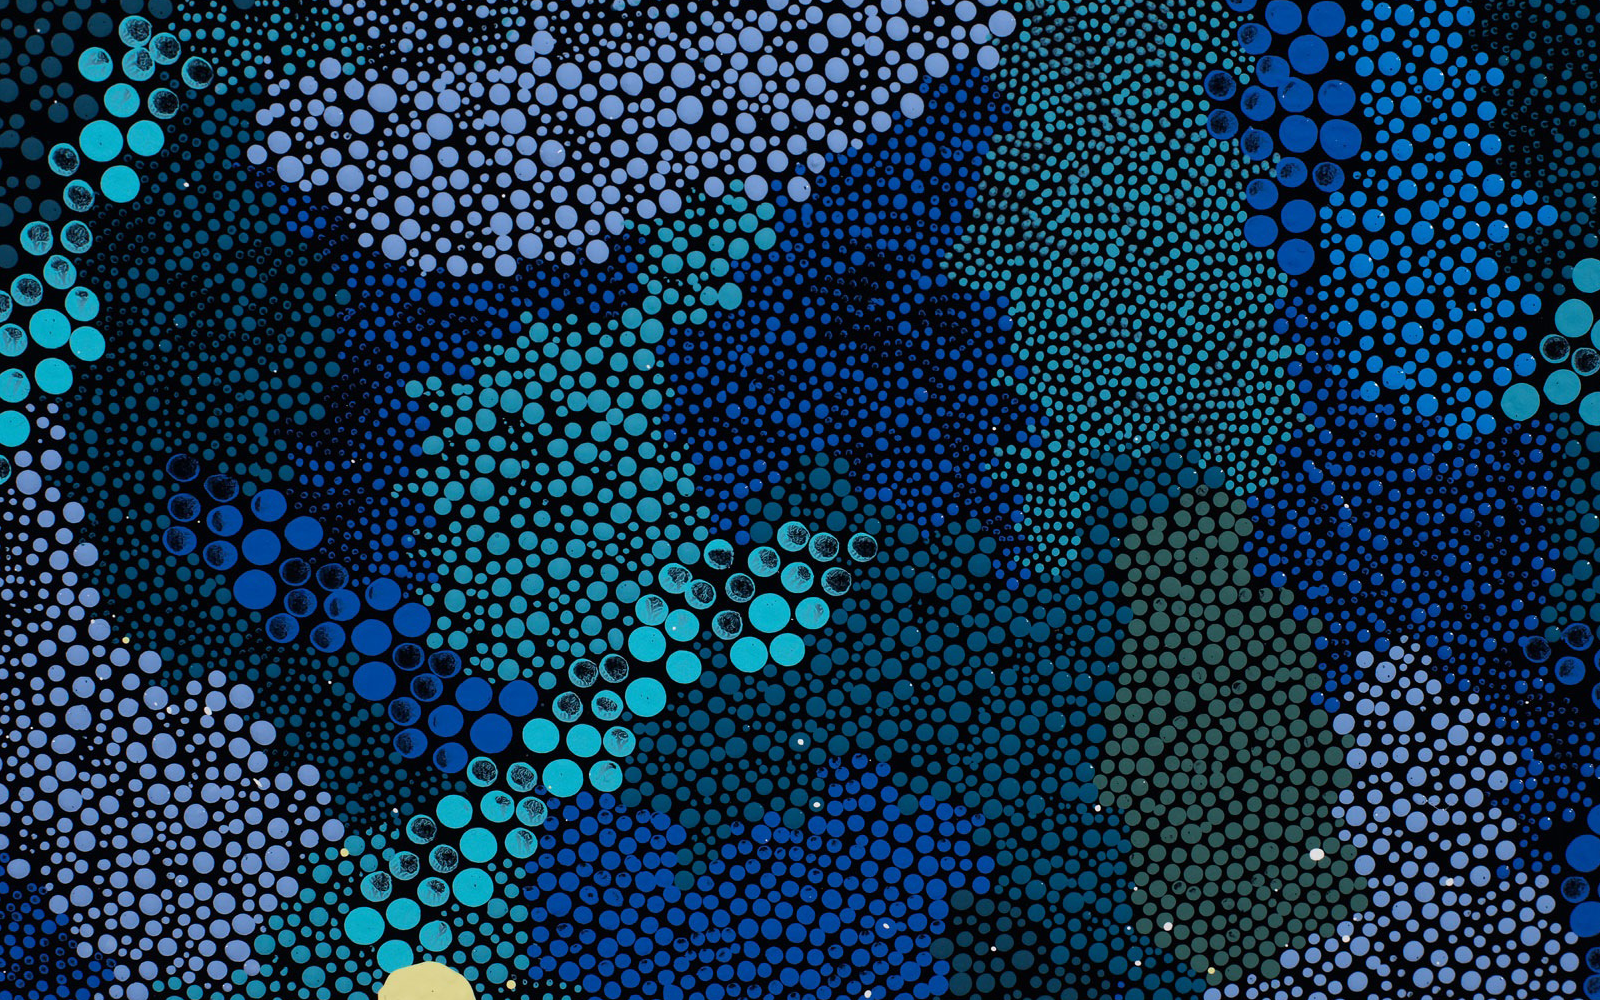
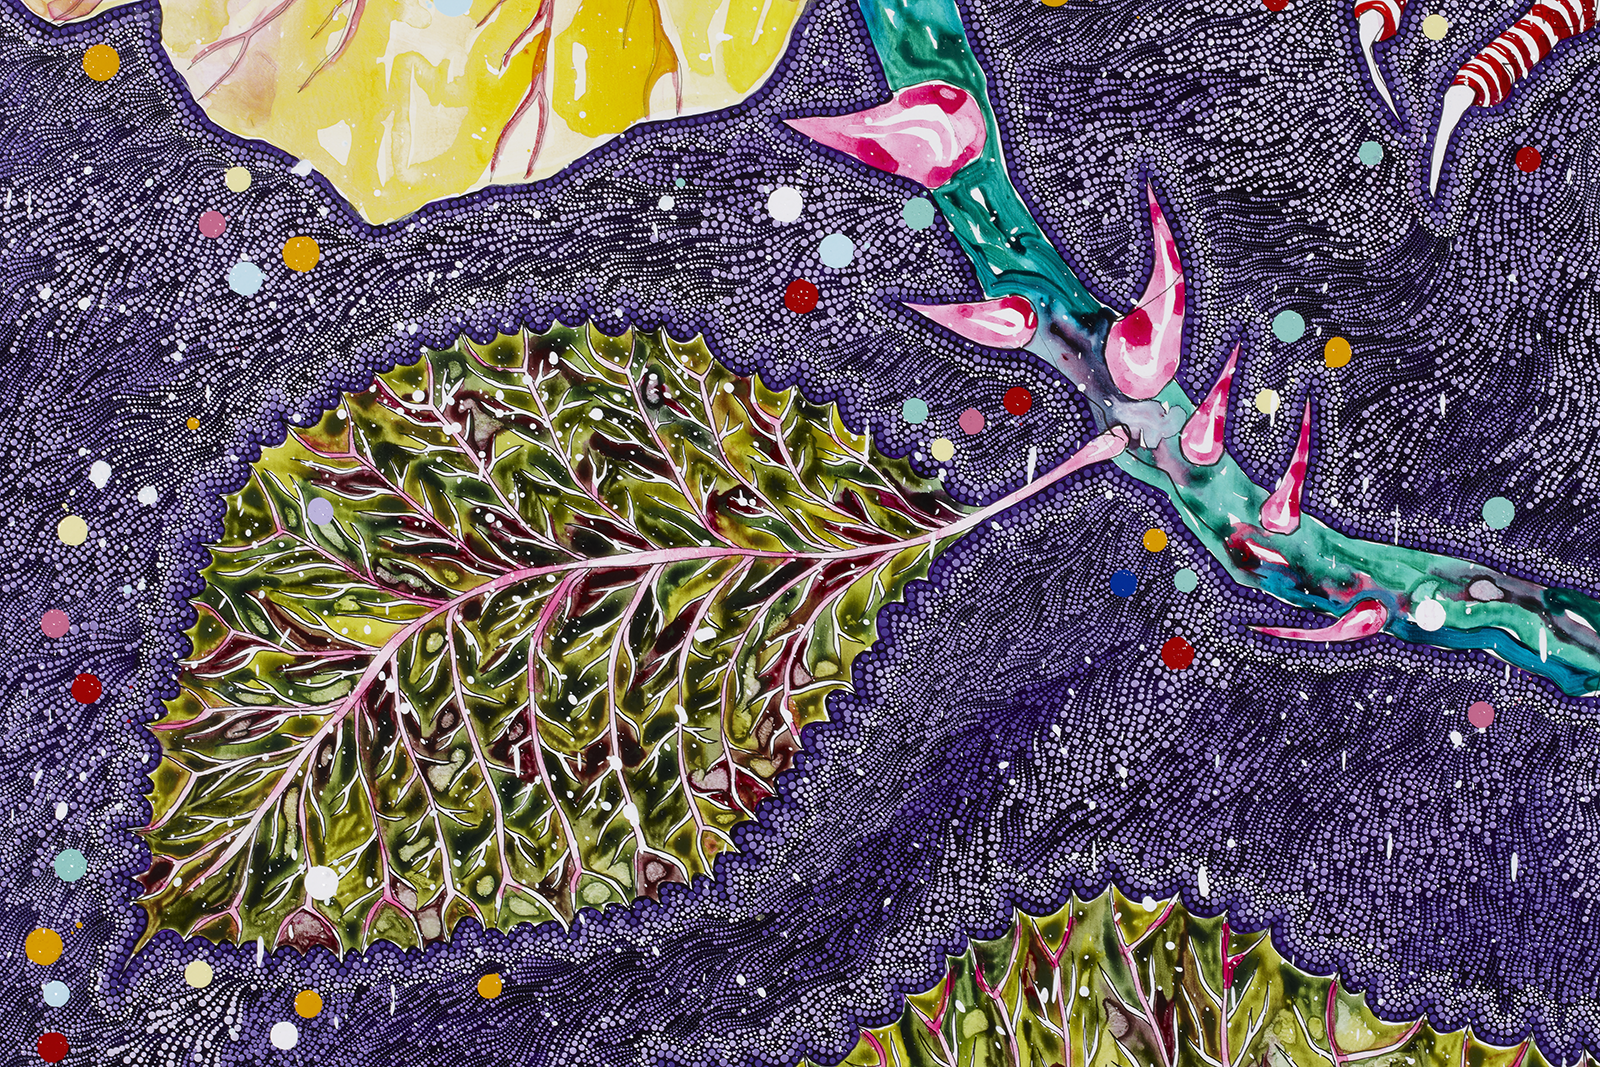
Barton’s style in this series is characterised by intricate dot work around the subjects. Almost all negative space is filled with fine dots. The arrangements take two main forms. There are camouflage-like clusters and dots that are chained together to form tendrils that flow along organic arcs across the canvas. Halos of dots also trace the silhouette of the subjects. Our challenge was to animate these ‘backgrounds’ of dots, keeping all these characteristics intact to faithfully reproduce the artists style, and find a way to bring motion to these halos, clusters and tendrils in over 60 shots throughout the film.
The poignant and melancholy narrative arc , along with Barton’s bold visual interpretations were inspiring the directors towards a dark and uncompromising treatment. The motion of the backgrounds needed to be organic but also otherworldly. Motion, composition and colour needed to vary depending upon the subject being enclosed. Readable yet subtle, not overwhelming the foreground action. Barton also wanted to make sure the dots never overlapped, a fundamental aspect of her style.
Tendrils
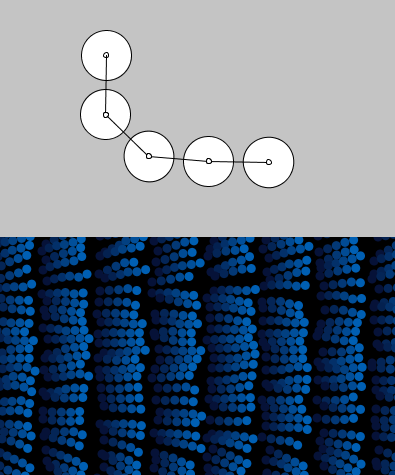
The tendrils were the most complex form, so we started with them. There were two major challenges: firstly, placing the tendrils alongside one another in the same manner seen in Barton’s paintings, and secondly having them move. We began by linking dots together with dampened springs in a physics simulation, and placing each tendril by laying them out in vertical rows with some random horizontal offsets. Applying a force vector field from evolving 2D Perlin noise gave us motion.
The results were promising but the feel was too loose. The placement of the tendrils didn’t really match how Barton packed them in naturally and tightly giving a very pleasing continuous coverage of the space. As the tendrils moved, the rows in which they were placed became apparent. We began experimenting with more sophisticated placement methods:
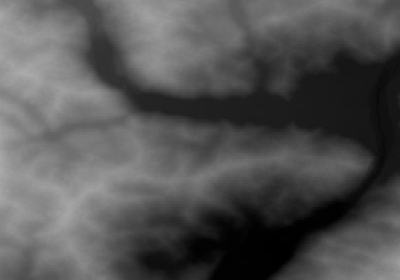
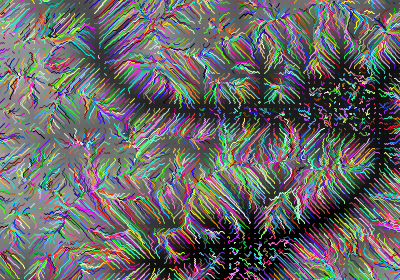
Gradient Maps
Tracing the contours of greyscale gradient textures to determine the tendril direction.
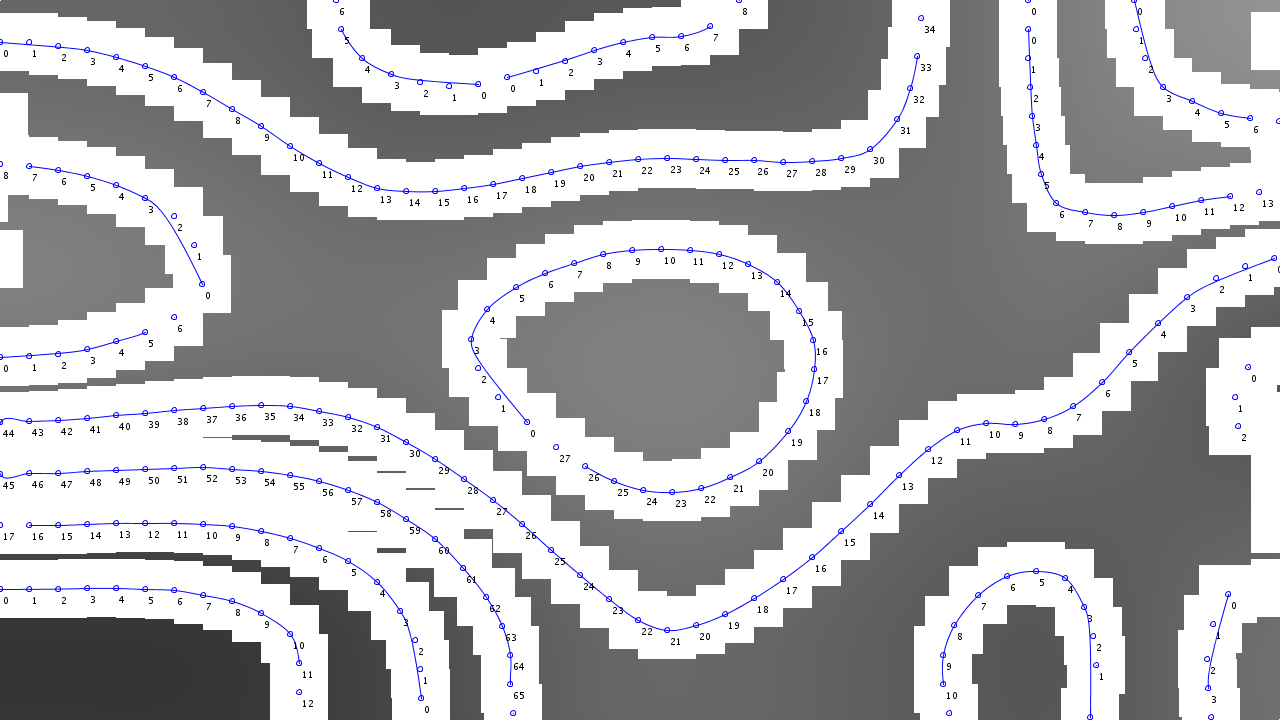
Parametric Curves
Fitting parametric curves to the gradient maps. We could then infer the normal and and tangent direction at any point. This would allow the tendrils to be placed along the same direction as the “prevailing wind” at that point.
Point Gravity
Scattering tendrils across the canvas and then attracting them to the centre improved the placement. Tendrils that didn’t move much for a few seconds were locked in place, speeding up the process. The tendrils were aligned to the direction of the force vector field.
Line Gravity
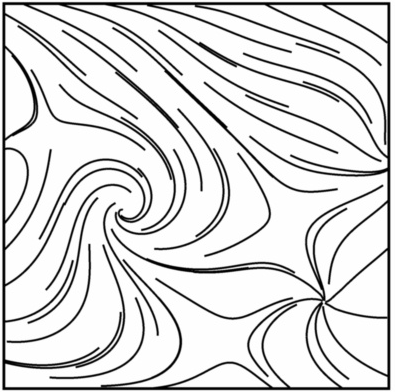
Attracting tendrils to the closest point on a horizontal line through the middle of the canvas (streamline placement test 4).
Streamline Placement
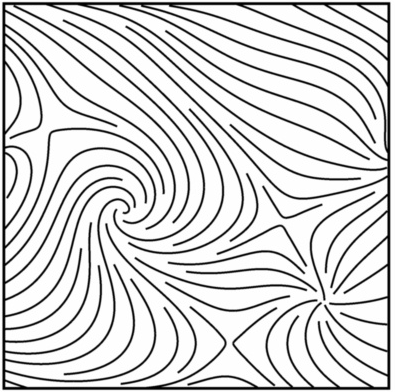
Basically what we were trying to do was solve a classic problem in computer visualisation known as Image-Guided Streamline Placement. Formally this involves drawing lines (“streamlines”) to visualise a vector field, with the core idea being to have a fairly uniform visual density.
By leveraging the physics simulation we had already implemented, we developed an approach to solving this problem which may just be a modest contribution to the field (SIGGRAPH here we come!). Our algorithm proceeds by:
- Finding empty areas within the canvas via a spatial recursive search.
- Within these areas tendrils are spawned using a heuristic that helps prevent them overlapping followed by a collision test that kills any tendrils that do overlap.
- All tendrils are physics objects within a physics simulation. i.e. They are chains of circles and collide with one another.
- The spawned tendrils have forces applied that make them both align to the vector field lines and flow along them.
- Tendrils that haven’t moved for a while are locked in place. Repeat from (1).
The video below shows what this algorithm looks like as it proceeds. After the canvas is filled, the placement is serialised and the motion simulation is started. We improved the motion with numerous tweaks including changing the type of physics joint that connected the dots and making the tendril flex like a reed that wants to return to it’s ideal (initial) position.
Clusters & Halos
Clusters were laid out using the point gravity method first developed for the tendrils. When in motion each dots had a spring force applied that made it tend back to it’s original placement position, and physics collisions to ensure there were no overlaps.
Climax Scene
An additional effect was required for a special scene in the film. For the first time negative space is allowed with the dots vacating in response to a sudden climactic moment. We programmed a radial impulse centred on the Nightingale character herself, with various force and speed parameters so we could match the timing and feel of the scene. In order to avoid a perfectly circular shockwave, we made a “wobbly” circle equation to perturb the impulse shape as it grows. Note how the system appears somewhat fluid-like in the way it responds to the impulse, because with the large number of dots the actually begins to behave like a very primitive particle-based fluid sim.
The Halo effect can also be seen in the first video. The software animated the palette by cycling through an image sequence generated by an After Effects script we developed to process the foreground character mattes. This effect was used in several key scenes to generate and animate the distinctive dots halos seen throughout Barton’s original series.
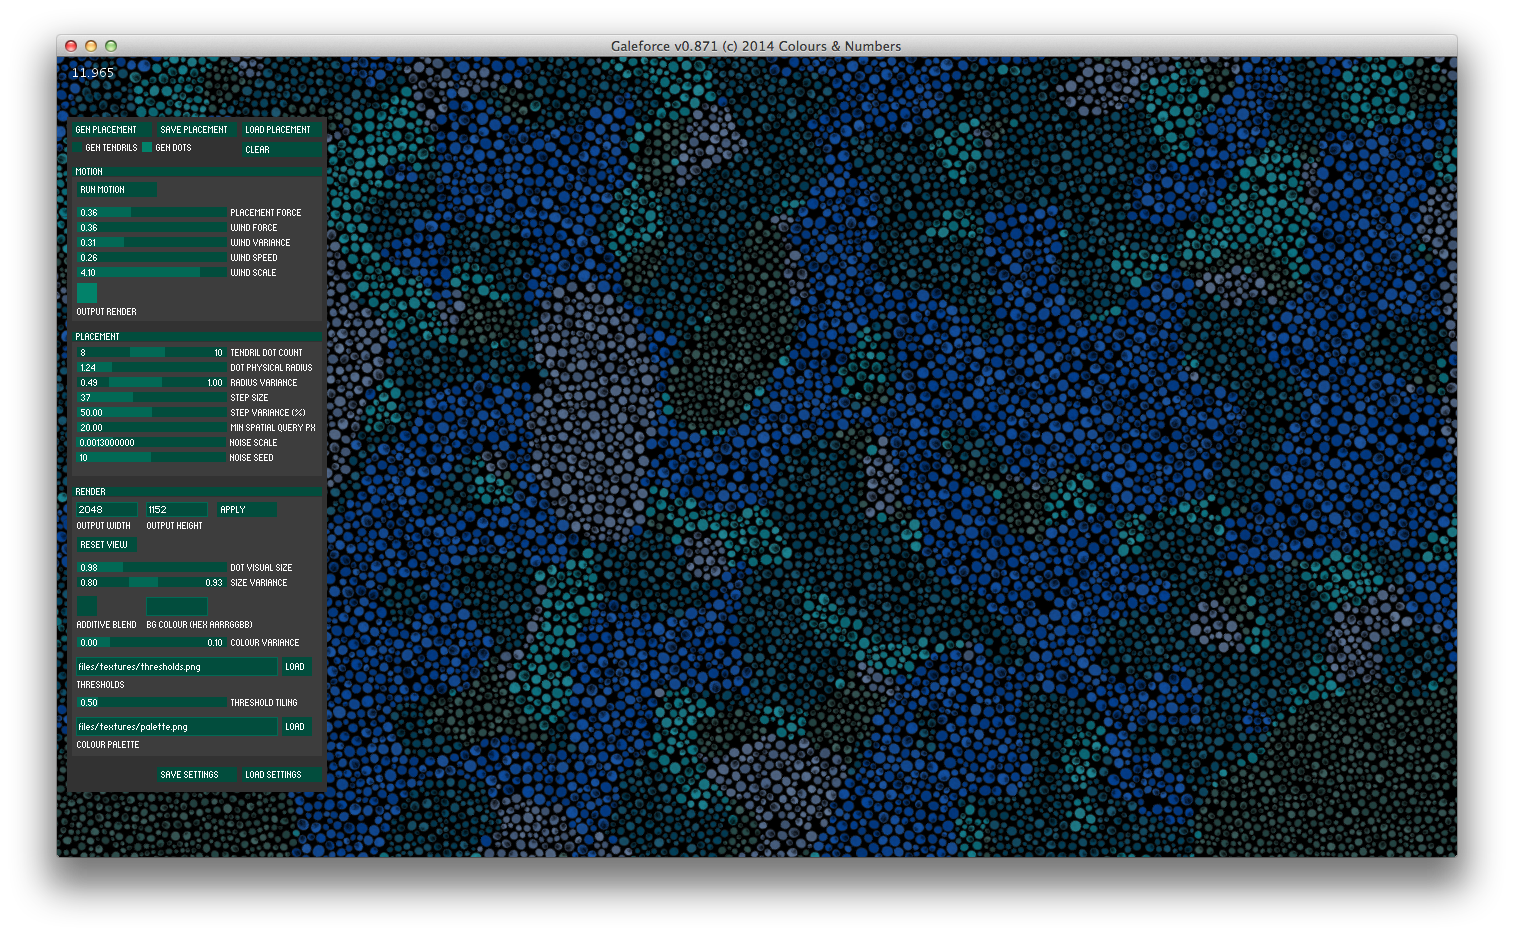
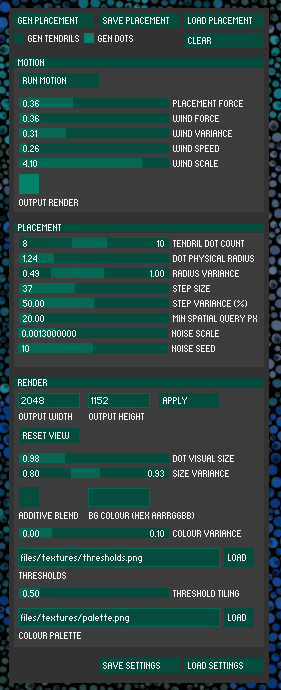
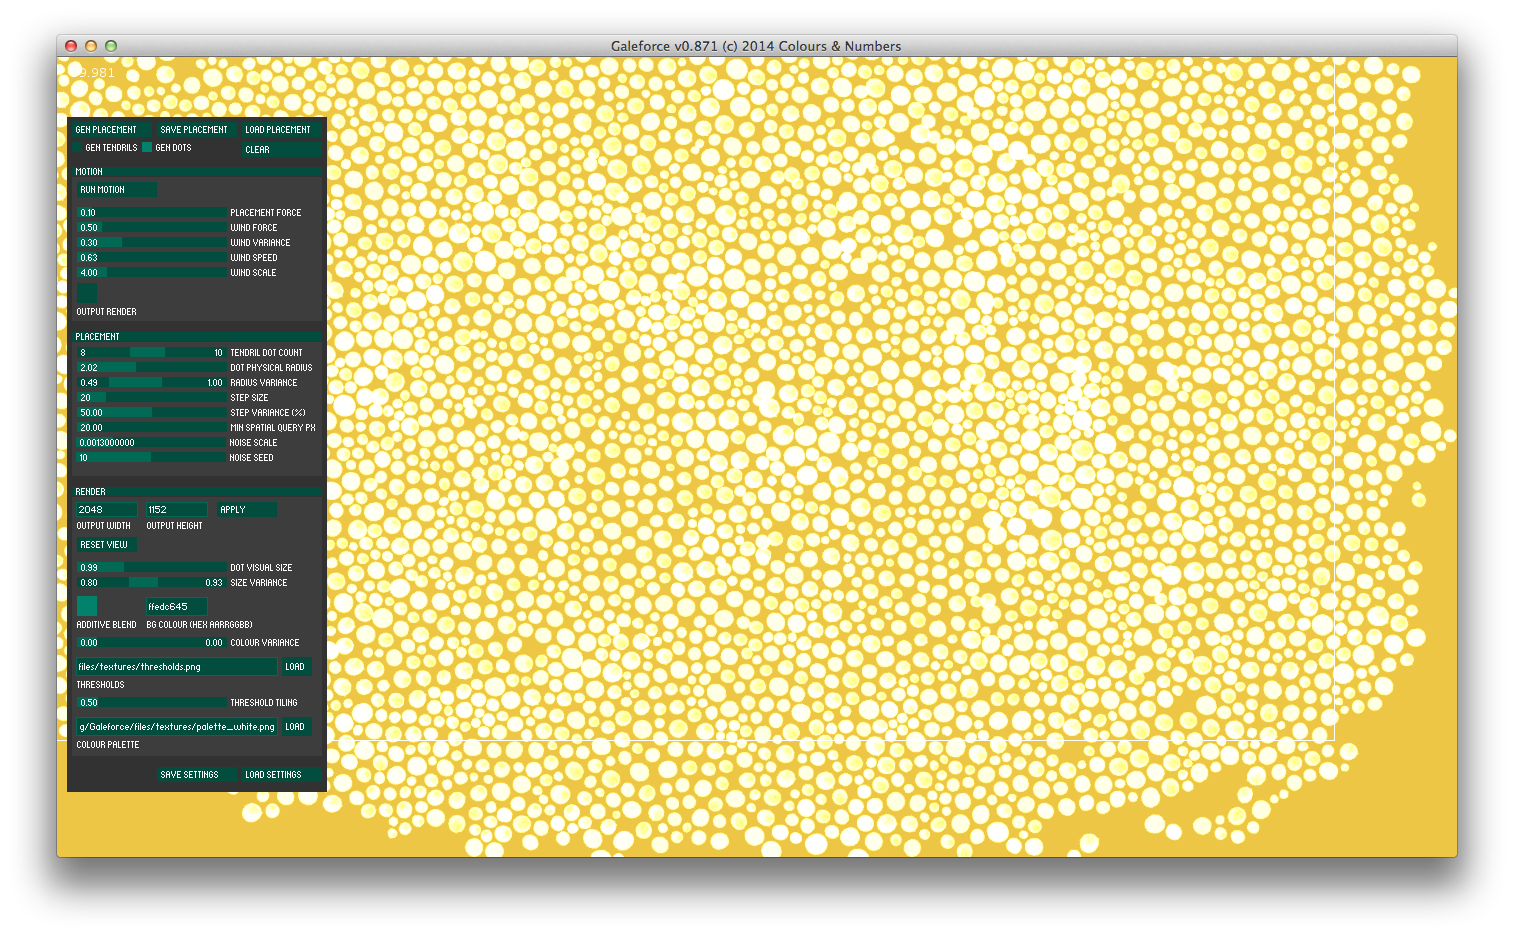
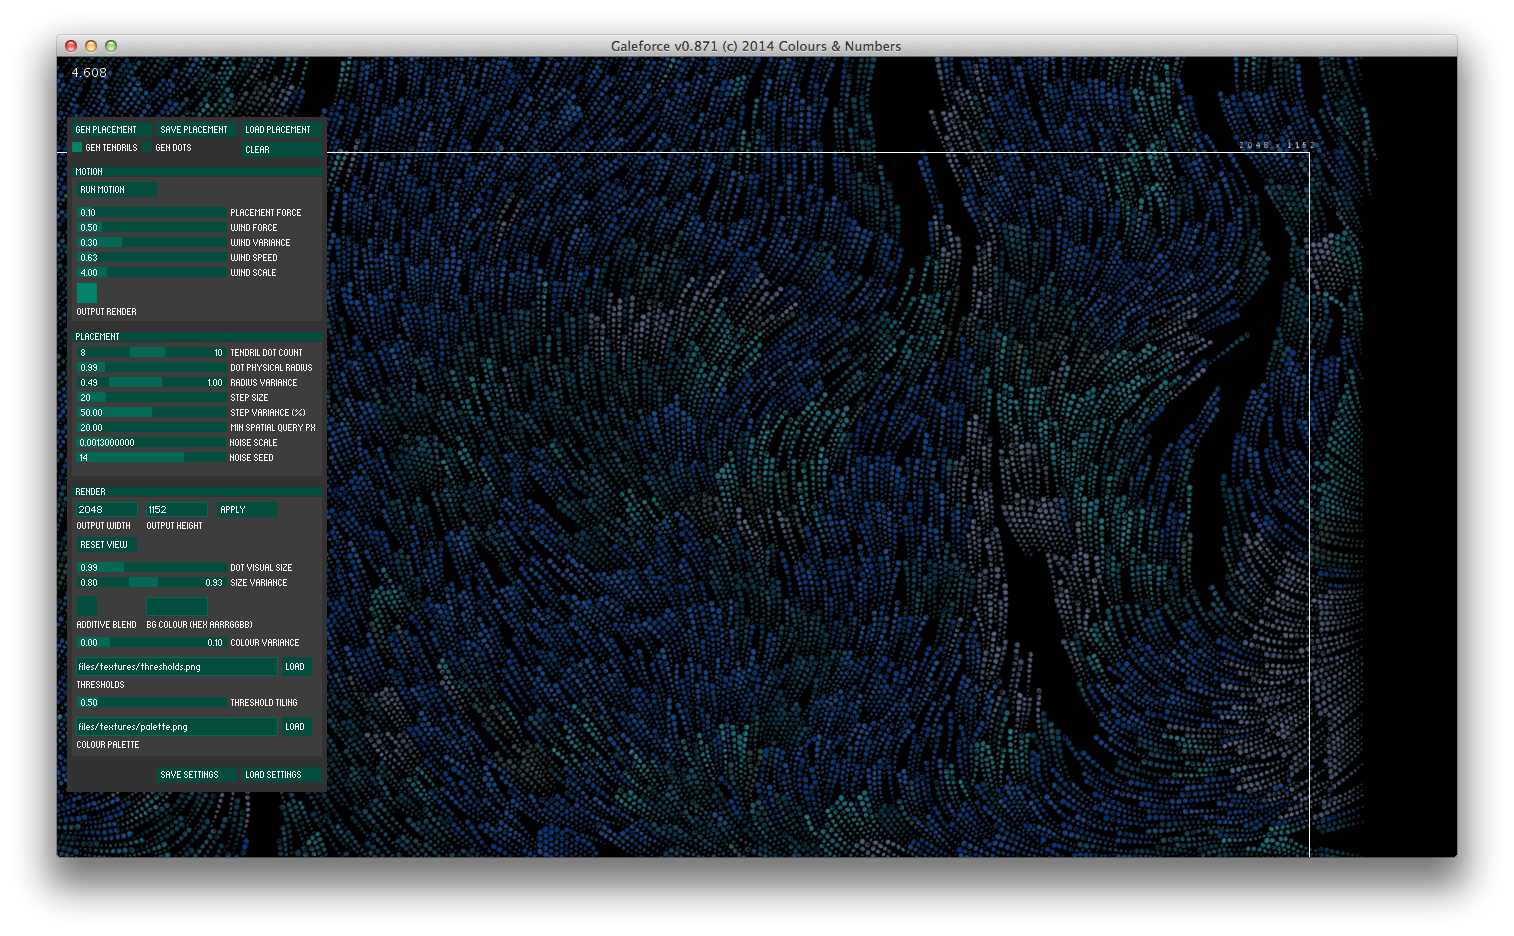
Galeforce Software
Galeforce is the software package that encapsulates the results of all this R&D. It allowed the client to easily iterate on different designs while still exposing the full power of the underlying technology. Key to the smooth workflow achieved on this project was the ability of Galeforce to load and save both placements and their associated settings independently. The motion, palette, halo and other parameters could all be adjusted without needing to generate a new placement, allowing for rapid iteration and response to feedback. The settings files could be easily shared between our two studios. The workflow involved us discussing a certain background design with Method, executing it and supplying a WIP video along with the settings files that generated it. This along with documentation and video conference tutorials allowed Method to use Galeforce to produce all of the final renders used in the film apart from the climax scene.


